

How to Customize Blog Post Page & Comments
Go to Shopify Admin → Online Store → Themes
Click Customize → Open Default blog post template.
The blog post template includes:
- Page banner
- Article content
- Sidebar
- Comments
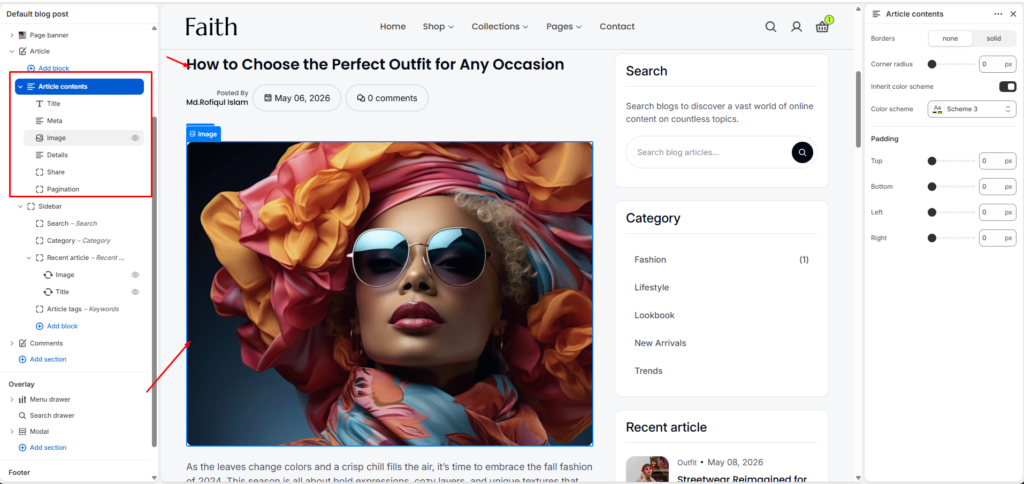
Article Contents
Select Article contents section.
This controls the main blog article area.
Available blocks:
- Title
- Meta
- Image
- Details
- Share
- Pagination
You can click each block to customize or hide it.
Title Block
Controls the blog post heading.
Example:
How to Choose the Perfect Outfit for Any Occasion
Meta Block
Displays article information:
- Author name
- Published date
- Comment count
Image Block
Controls the blog featured image.
The image comes from the blog post settings.
Details Block
Displays the full article content added from Shopify admin.
Share Block
Allows visitors to share the article.
Pagination Block
Shows previous/next article navigation.
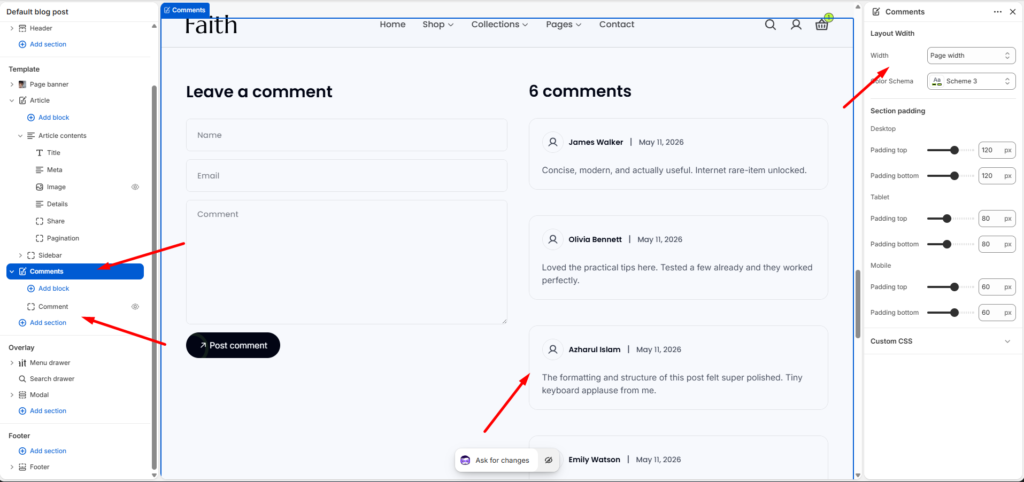
Comments Section
Select Comments section.
This section allows customers to leave comments and view existing comments.
Settings:
| Setting | Description |
|---|---|
| Width | Change section width (Full width/Page width). |
| Color Scheme | Change background and text style. |
Comments Padding
Adjust spacing for different devices.
Desktop:
- Padding top
- Padding bottom
Tablet:
- Padding top
- Padding bottom
Mobile:
- Padding top
- Padding bottom
Comment Form
Visitors can submit:
- Name
- Comment message
After filling the form, click:
Post Comment
Blog Comments Management
To manage submitted comments:
- Go to Shopify Admin
- Open Content
- Click Blog posts
- Click Manage comments
Here you can:
- Approve comments
- Delete comments
- Manage customer feedback
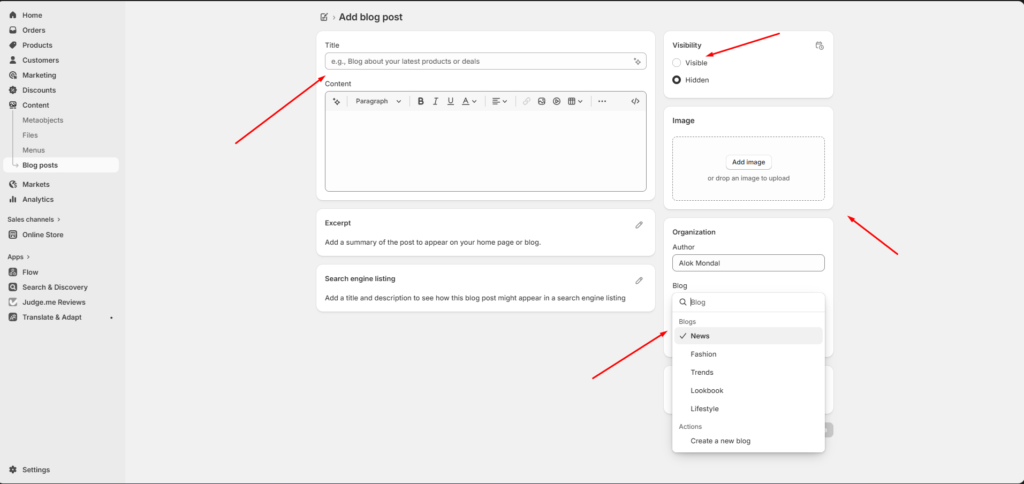
Add New Blog Post
To create a new article:
- Shopify Admin → Content
- Select Blog posts
- Click Add blog post
Fill:
- Title
- Content
- Excerpt
- Featured Image
Blog Post Settings
Configure:
Visibility
- Visible → Show article on website
- Hidden → Hide article from visitors
Organization
Set:
- Author name
- Blog category
Example:
- News
- Fashion
- Trends
- Lookbook
- Lifestyle
Featured Image
Upload an image from:
Image → Add image
This image appears in:
- Blog card
- Blog post banner
- Recent article sidebar
Save Blog Post
After editing:
- Add content
- Select blog category
- Upload image
- Set visibility to Visible
- Click Save
Your blog article page is ready.